Car film installation instructions
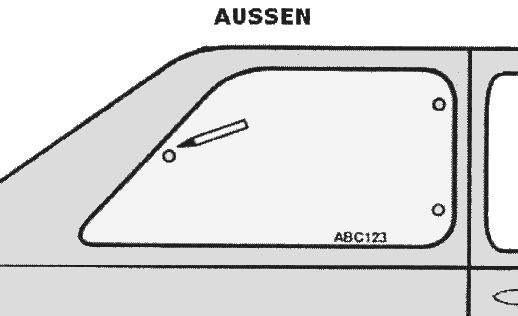
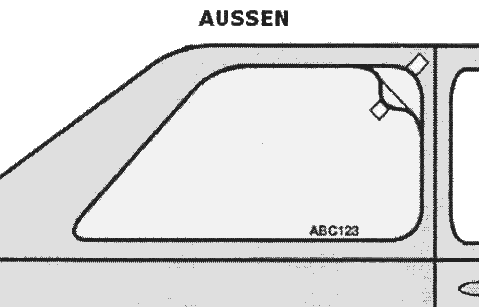
SCHEMATIC ILLUSTRATION
CLEANING THE WINDOWS FROM THE INSIDE AND OUTSIDE
- Before you start installing our automotive window films, mix the following in a water spray bottle 1 FMO mounting concentrate 15ml with 500 ml of water. Alternatively, you can also use washing-up liquid, but we do not recommend this as it could cause the window film adhesive to turn white.
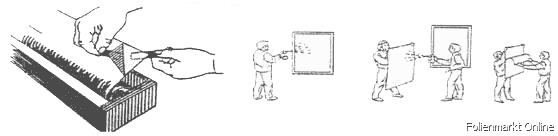
- Roughen the grid edge of the window with a stainless steel pad to improve the adhesion of the car window film.
- Then clean all windows, frames and rubber seals with a microfiber cloth.
- The best way to remove stubborn residue or dirt from the windshield is with a razor blade or a scraper for ceramic hobs.
- Then remove the cleaned panes with a mounting squeegee that has been wrapped in a household towel beforehand. It is best to dry the window rubbers and window edges with a lint-free, clean cotton cloth (tea towel)
- Spray the film again with the mounting liquid and then push the liquid away from the center to the sides with the flat of your hand. Now squeegee out the remaining liquid upwards and downwards.
Check the accuracy of fit!
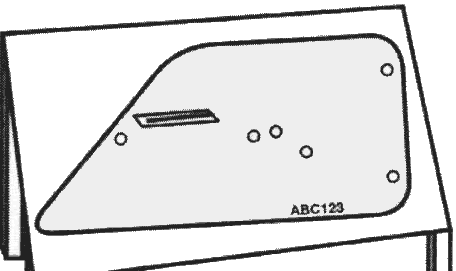
Vehicles with third brake light and/or hinged side windows:
- Use a water-soluble fiber pen to mark the cut-outs to be made on the film.
- Remove the automotive glass film from the window and cut out the cut-out(s) on a suitable surface using a cutter knife or scissors.

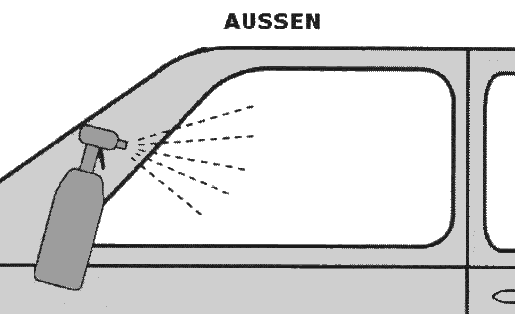
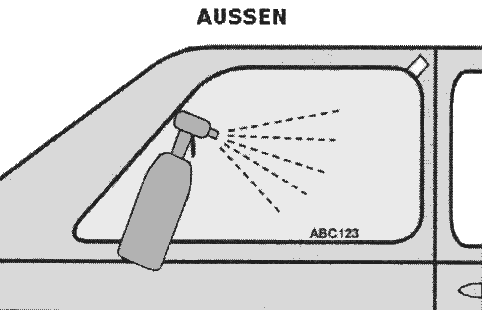
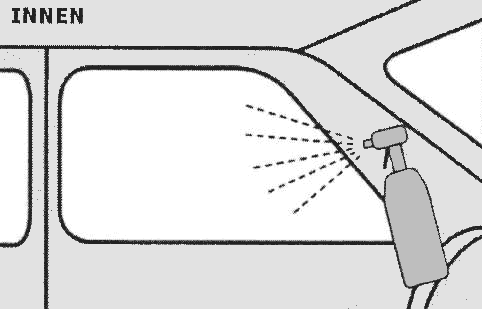
- Spray the outside of the window on which you are starting the installation with the installation fluid
- Remove the car glass film. The transparent protective film must always face you. To check, carefully remove the protective film from one corner of the film to be sure. Stretch the film between your hands and place it on the damp outside of the windshield.
(Do not remove the transparent protective film yet!)
ATTENTION!
- Window antennas (cell phones, radio, etc.) can be damaged when using metallized window film Window film for the car and therefore have a limited function.
-
When removing the car window film, please note that existing heating or antenna wires on the inside of the vehicle windows can be damaged by jerky tearing. This can be avoided by heating the film when removing it.
Avoid scratches and do not cut the automotive glass film directly on the windshield!
- Make sure that the car window film sticks to the outside of the windshield.
- Immediately after removing the protective film, spray the now exposed adhesive side of the film evenly with the installation fluid.
This side of the car window film is applied to the inside of the window!
- Slowly peel off the transparent protective film completely. Spray the adhesive layer with the mounting fluid while removing the protective film to prevent it from sticking together and wrinkling.
Never touch the adhesive layer, as fingerprints will be visible after installation!
INSIDE OF THE WINDSHIELD: INSTALLATION OF THE CAR WINDOW FILM
- Now spray the Inside of the window several times with the installation fluid.
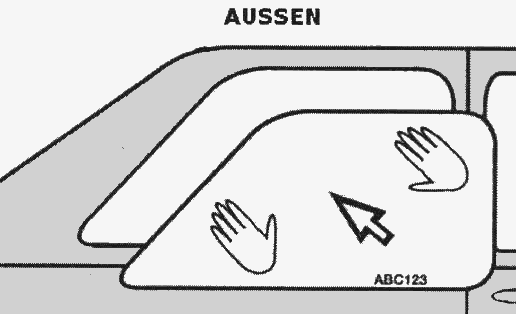
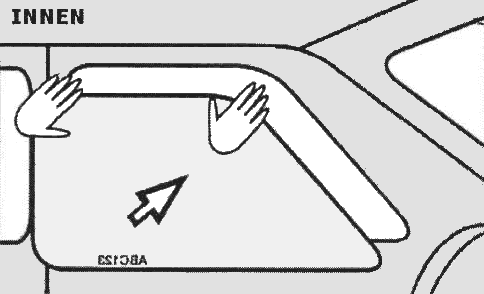
- Hold the moistened car window film by the two upper corners and remove it from the outside of the window. Hold the corners slightly taut so that the film does not stick together.
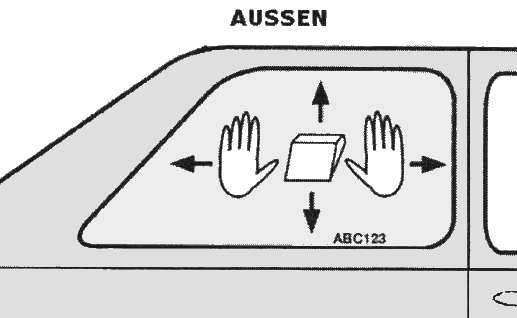
- Carefully place the stretched car window film inside the vehicle and position the film with the damp side on the previously moistened inside of the window.
- The car glass film will now automatically adhere to the glass. The film can be brought into the correct position by sliding it on the water film. Spray the car window film again with a little installation fluid.
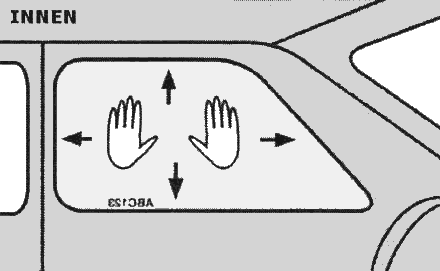
- Now squeegee out all the liquid from the center of the pane upwards and downwards. This area is thermoformed. Keep the contact pressure as even as possible. Squeegee until the liquid has been completely removed and the car glass film is free of bubbles and creases.

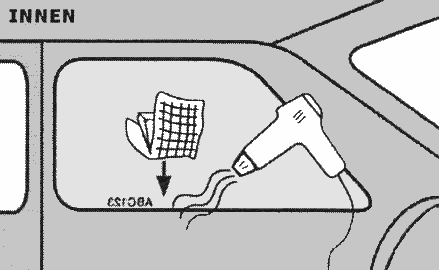
- If wrinkles still form, they can be removed with the help of a Hair dryer be removed. As the film can burn easily, please only work with the lowest heat level and from a sufficient distance.
- The squeegeed-out liquid collects on the lower window seal, which you can remove with the squeegee (wrap with a cotton cloth beforehand).
- Then dry this area with a hair dryer on the lowest heat setting.
-
Installation tip for panes with a grid edge:
To improve the adhesion of the automotive glass film in the area of the grid edge, rework it with a hair dryer and squeegee until there is no more residual moisture.
CARE INSTRUCTIONS
Within the first week after installation, please avoid
- Clean the inside of the coated windows
- Switch on your rear window heating
- Retractable windows should also not be moved during this period.
Please use only clear water and a soft cloth to clean the automotive glass film.
In the area of the grid edge, it may be necessary to squeegee several times to improve the adhesion of the automotive glass film.