Preiswerte Fensterfolie
Top-Qualität zu fairen Preisen
Rechnungskauf 30 Tage
Flexible Zahlungskonditionen
mm-genauer Zuschnitt
Fensterfolien nach Maß
Meterware ab 1 Meter
Flexible Bestellmengen
Rollenrabatt bis 40%
Sparen bei größeren Mengen
Sicher dank SSL
Verschlüsselte Datenübertragung
Fensterfolien für jeden Bedarf
Entdecken Sie unsere vielfältigen Lösungen für Sichtschutz, Sonnenschutz und Sicherheit. Von milchglas Fensterfolie bis UV-Schutz Fensterfolie - wir haben die perfekte Lösung für Ihre Bedürfnisse.
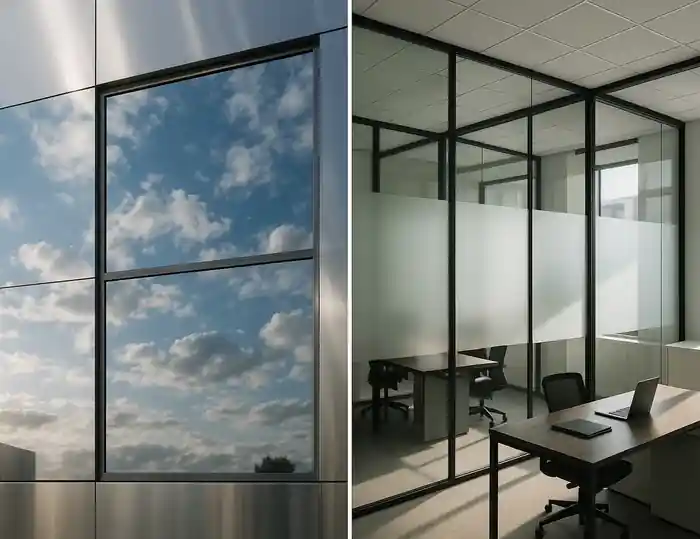
Sichtschutz Fensterfolie
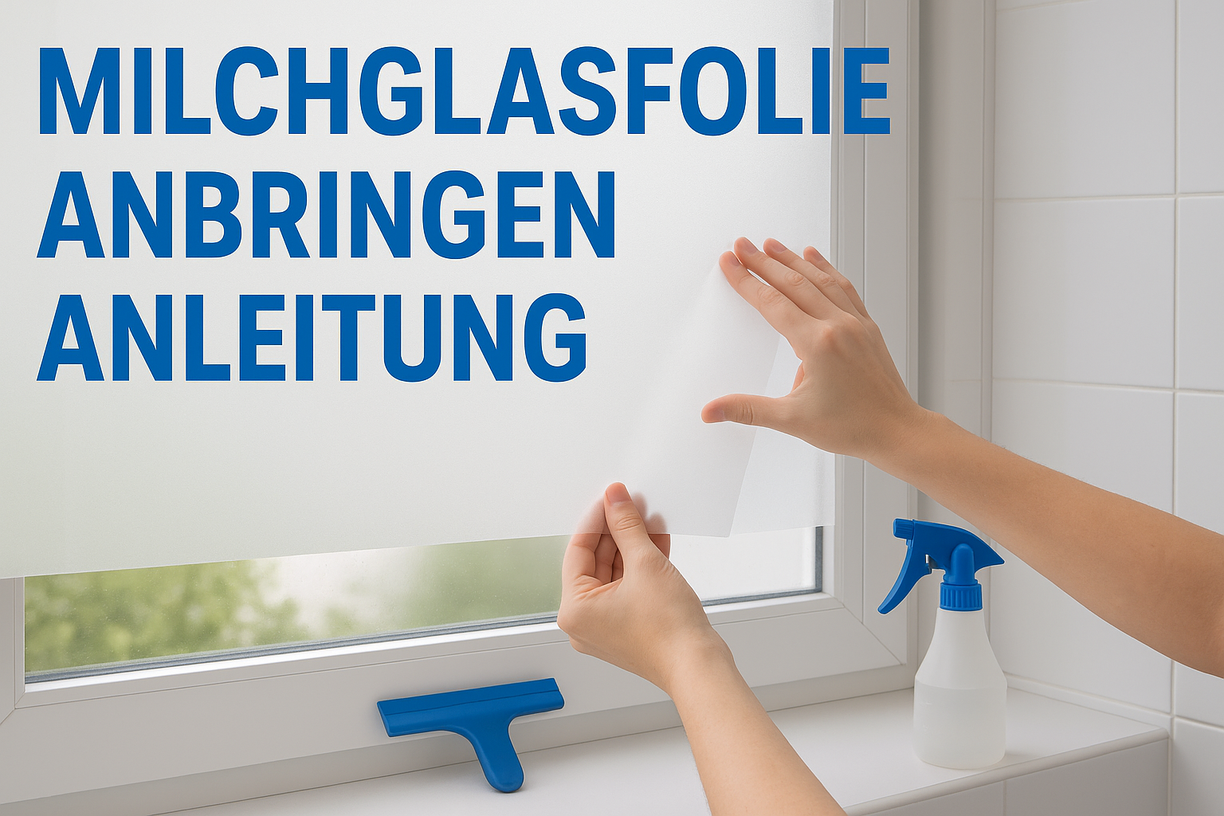
Schützen Sie Ihre Privatsphäre mit hochwertigen sichtschutz Fensterfolie. Verhindern Sie unerwünschte Einblicke effektiv mit selbstklebenden oder statischen Fensterfolien für Badezimmer, Büro und Wohnräume.
- ✓ Milchglas Fensterfolie für optimalen Lichteinfall
- ✓ Statische Fensterfolie ohne Kleber
- ✓ Spionspiegelfolien mit Einwegsicht
- ✓ Rückstandslos entfernbar
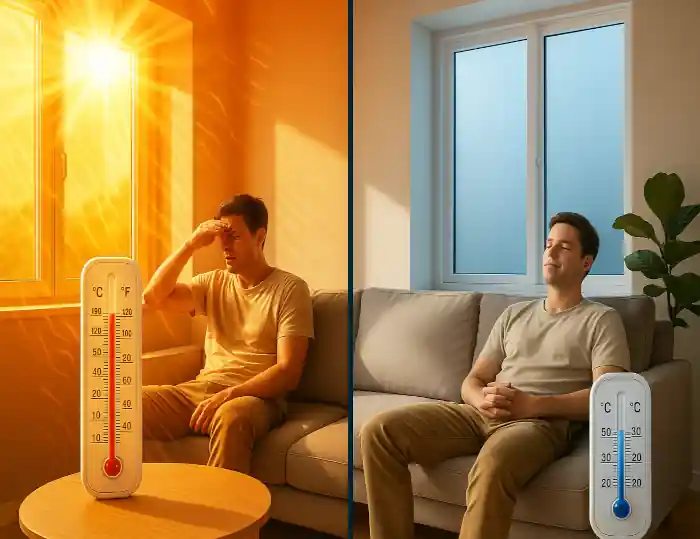
Sonnenschutz Fensterfolie
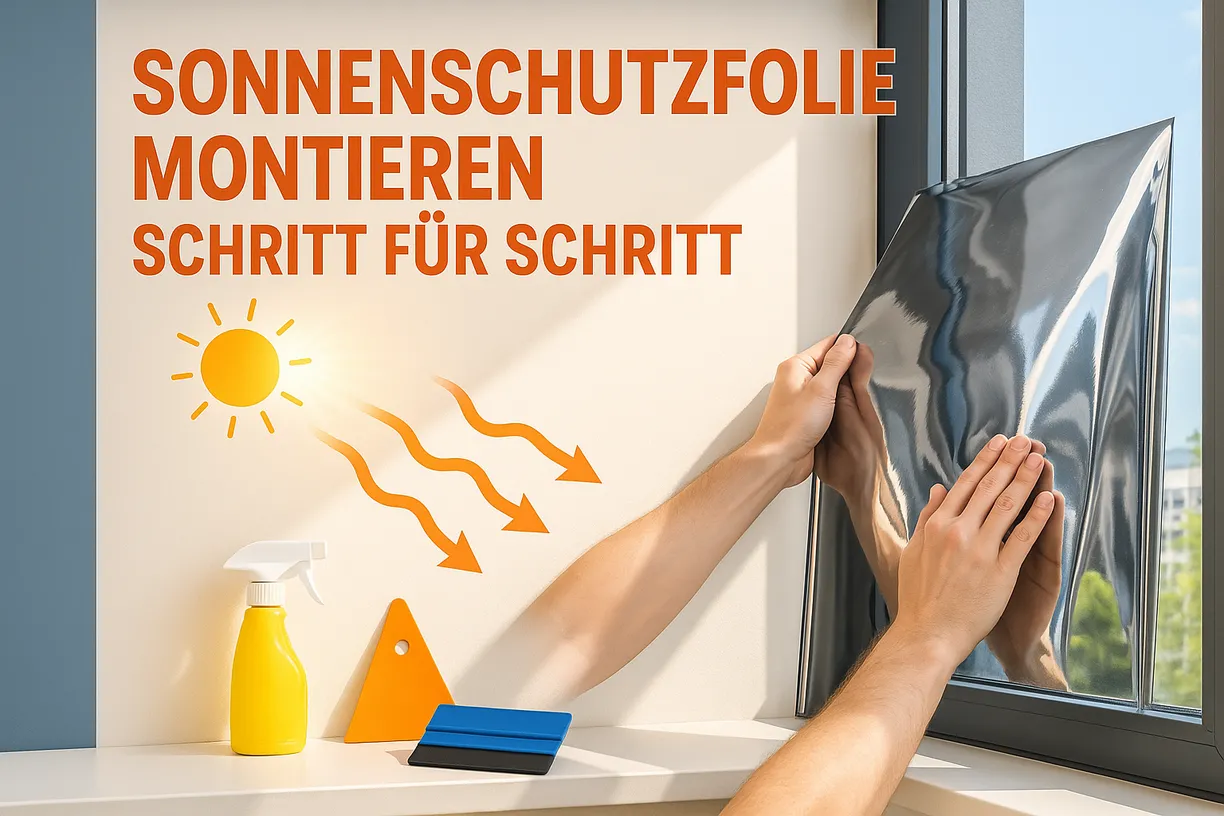
Halten Sie Ihre Räume kühl und komfortabel mit UV-Schutz Fensterfolie. Reduzieren Sie Überhitzung mit wärmeschutz Fensterfolie und schaffen Sie ein angenehmes Raumklima bei bis zu 34% Energieeinsparung.
- ✓ Bis zu 99% UV-Schutz Fensterfolie
- ✓ Hitzeschutz senkt Raumtemperatur bis 15°C
- ✓ Blendschutz für Bildschirme
- ✓ Ausbleichschutz für Möbel
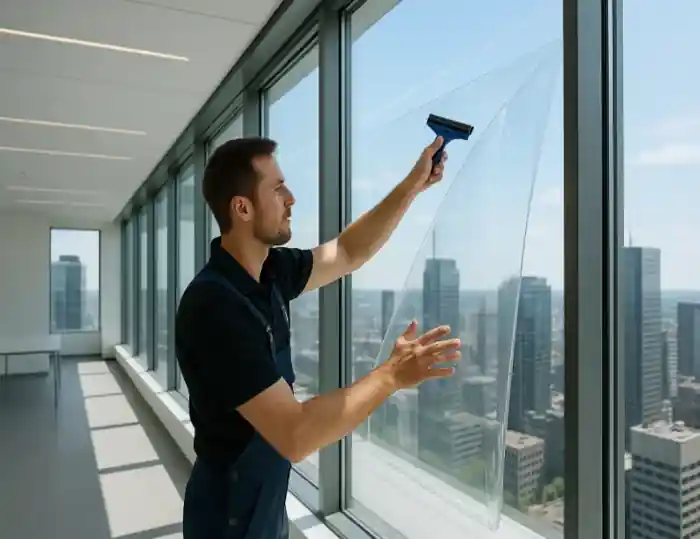
Schutzfolien-Fensterfolie
Mehr Sicherheit und Schutz für Ihre Glasflächen. Minimieren Sie Verletzungsgefahren und schützen Sie vor Einbrüchen mit hochwertigen Sicherheits-Fensterfolien für Gewerbe und Privat.
- ✓ Einbruchschutz Fensterfolien
- ✓ Splitterschutz bei Glasbruch
- ✓ Anti-Graffiti-Schutz
- ✓ UV-Schutz für Langlebigkeit

Auto-Fensterfolie
Tönungsfolien und Schutz für Ihr Fahrzeug. Schützen Sie Ihre Privatsphäre und reduzieren Sie Hitze im Innenraum mit speziellen Autotönungsfolien nach StVZO-Zulassung.
- ✓ Autotönungsfolien für Privatsphäre
- ✓ UV-Schutz für das Interieur
- ✓ Splitterschutz bei Unfällen
- ✓ Lackschutzfolien
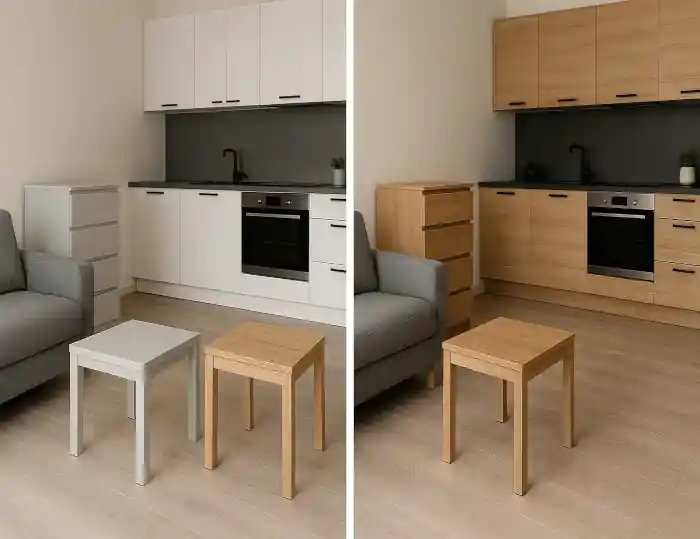
Dekorative Möbelfolien
Die clevere Alternative zum Neukauf. Verleihen Sie Ihren Möbeln ein neues Leben mit hochwertigen selbstklebenden Möbelfolien in Holzoptik, Marmor oder modernen Designs.
- ✓ Holzoptik für natürliche Ausstrahlung
- ✓ Leder für edlen Charme
- ✓ Marmor für luxuriösen Look
- ✓ Luftkanal-Technologie
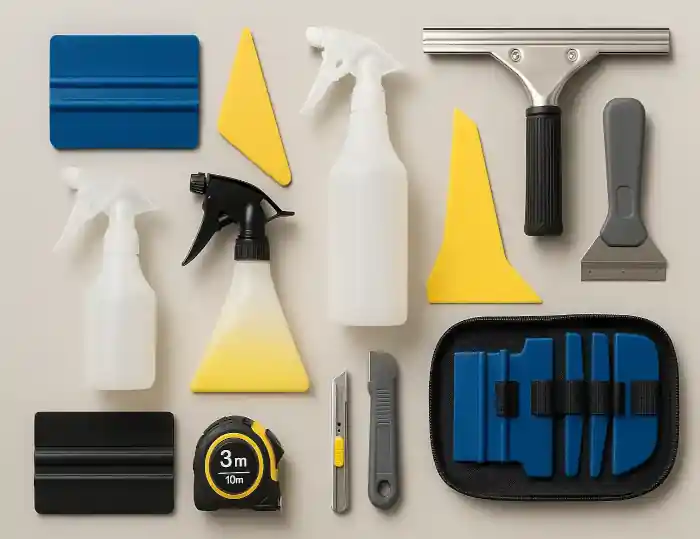
Fensterfolien-Montagezubehör
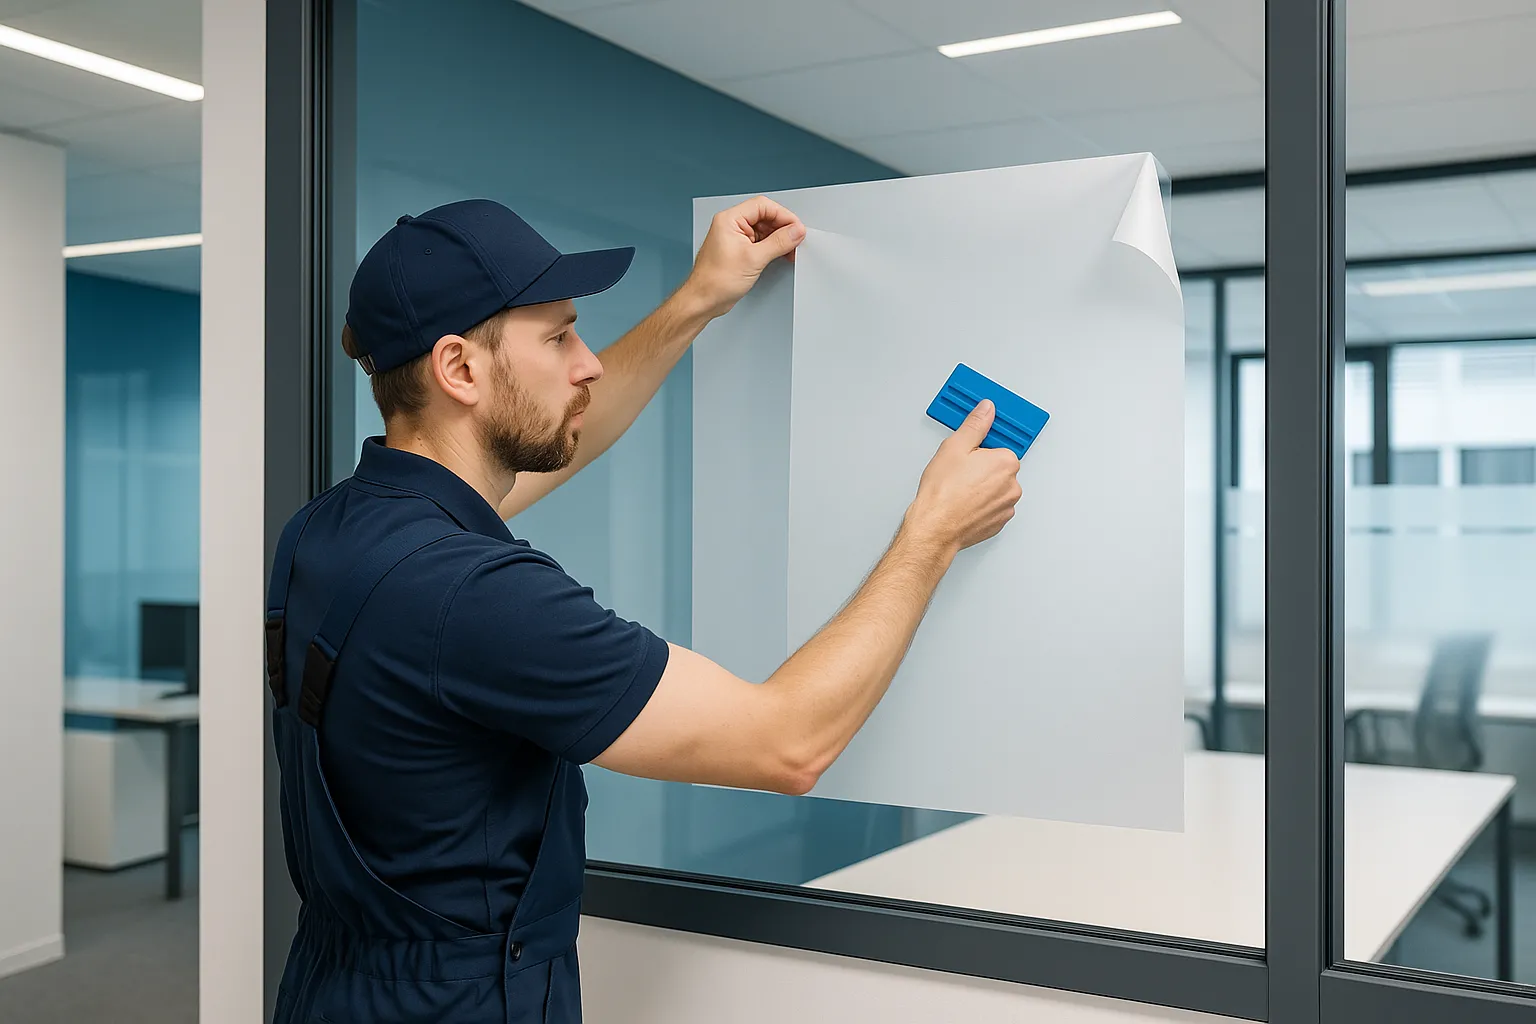
Das passende Montageset für eine professionelle Fensterfolien-Verlegung. So gelingt die Montage Ihrer Fensterfolie schnell und unkompliziert - auch ohne Vorkenntnisse.
- ✓ Komplettes Montageset
- ✓ Professionelle Werkzeuge
- ✓ Auch ohne Vorkenntnisse
- ✓ Detaillierte Anleitung
Warum unsere Fensterfolie die perfekte Wahl ist
Über 18 Jahre Erfahrung mit Fensterfolien und tausende zufriedene Kunden sprechen für sich
Privatsphäre garantieren
Unsere sichtschutz Fensterfolie für Badezimmer bietet effektiven Schutz vor neugierigen Blicken und sorgt für mehr Privatsphäre in Ihren Räumen. Perfekt für sensible Bereiche wie Badezimmer, Schlafzimmer oder Büroräume mit milchglas Fensterfolie.
Effektiver Hitzeschutz
Mit UV-Schutz Fensterfolie reduzieren Sie effektiv die Hitzeentwicklung und schützen Ihre Möbel vor schädlichen UV-Strahlen. Sparen Sie bis zu 34% Heizkosten und schaffen Sie ein angenehmes Raumklima mit wärmeschutz Fensterfolie.
Dekorativer Look
Verleihen Sie Ihren Fenstern mit milchglas Fensterfolie nach Maß oder dekorativen Fensterfolien ein stilvolles und modernes Design. Wählen Sie aus hunderten von Designs und Mustern für jeden Geschmack und Einrichtungsstil.
Einfache Anwendung
Unsere selbstklebenden Fensterfolien und statische Fensterfolie lassen sich unkompliziert montieren und bei Bedarf rückstandslos entfernen. Perfekt für Mieter und Eigenheimbesitzer - ohne bauliche Veränderungen.
Preis-Leistungs-Verhältnis
Hochwertige Fensterfolien zu fairen Preisen. Profitieren Sie von unserem direkten Vertrieb und sparen Sie gegenüber dem Fachhandel. Fensterfolie günstig online kaufen ohne Qualitätsverlust - mit 18+ Jahren Expertise.
18+ Jahre Expertise
Vertrauen Sie auf über 18 Jahre Erfahrung im Bereich Fensterfolien. Wir beraten Sie kompetent bei der Auswahl der richtigen Fensterfolie für Ihre Bedürfnisse und bieten professionellen Service von der Beratung bis zur Montage.
Unsere Topseller Fensterfolien
Die beliebtesten Fensterfolien unserer Kunden - bewährt und hochwertig

UV-Schutz Fensterfolie Silber 80 EX Eco
80% Lichtreduktion für optimalen Hitzeschutz und UV-Schutz
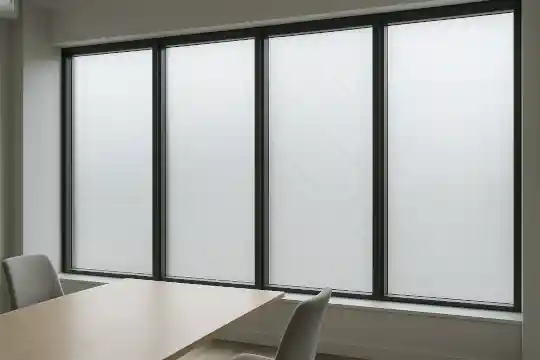
Milchglas Fensterfolie Opak Weiß
Perfekte Privatsphäre bei optimaler Lichtdurchlässigkeit

Spionspiegelfolie Einwegsicht
Einwegsicht für maximale Privatsphäre und Sichtschutz
Unser Service für Sie vom Profi
Bundesweiter Verlegeservice mit 18+ Jahren Erfahrung für Ihre Fensterfolien
Wir verlegen Ihre Fensterfolien bundesweit zuverlässig und professionell. Profitieren Sie von über 18 Jahren Erfahrung in der Fensterfolien-Montage und lassen Sie sich von unseren Experten beraten. Ob sichtschutz Fensterfolie für das Badezimmer oder UV-Schutz Fensterfolie für Ihr Büro - wir finden die perfekte Lösung für Ihre Anforderungen.
Individuelle Beratung
Persönliche Beratung für die richtige Fensterfolie-Auswahl
Professionelle Vermessung
Exakte Vermessung vor Ort für perfekte Passgenauigkeit
Fachgerechte Montage
Professionelle Verlegung Ihrer Fensterfolien durch Experten
Garantie & Service
Umfassende Garantie auf Material und Verlegung
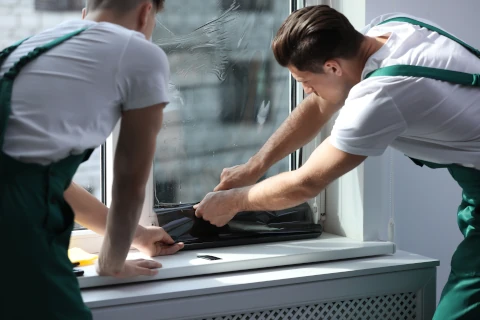
Fensterfolien einfach anbringen
Schritt für Schritt mit unseren Montageanleitungen
Fensterfolien Montagevideo
Schritt-für-Schritt-Anleitung
Damit die Montage der Fensterfolien einfach und stressfrei gelingt, sind leicht verständliche Montageanleitungen im Lieferumfang enthalten. Alle Anleitungen stehen Ihnen auch online zur Verfügung:
Vertrauen Sie auf 18+ Jahre Erfahrung
Tausende zufriedene Kunden vertrauen auf unsere hochwertigen Fensterfolien und professionellen Service
Qualitätsgarantie
Hochwertige Fensterfolien mit Qualitätsgarantie
Schneller Versand
Ihre Fensterfolie bereits am nächsten Tag bei Ihnen
Sichere Zahlung
SSL-verschlüsselt und verschiedene Zahlungsarten
Persönlicher Support
Kompetente Beratung zu allen Fensterfolien-Fragen
Das sagen unsere Kunden
"Schneller Versand und gute Produkte. Die Folie war zusammen mit der empfohlenen Flüssigkeit und der Anleitung gut anzubringen. Das Produkt passt gut, sieht schön aus und erfüllt seinen Zweck."
"Super Folien, gut zu verarbeiten. Bestellung und Abwicklung gut. Lieferung sehr schnell. Sehr gute Montageanleitungen. Kann ich mit ruhigen Gewissen weiter empfehlen. Einfach Top!"
"Sehr schneller Versand, prima Ware, super verpackt, perfekter Zuschnitt! Immer wieder gerne."
"Kostenlose Muster zur Auswahl der richtigen Folie bestellbar. Zuschnitt kam perfekt auf Maß geschnitten, einfache Anbringung dank der schönen Anleitung."
Bereit für Ihre neue Fensterfolie?
Entdecken Sie jetzt unsere große Auswahl an hochwertigen Fensterfolien für jeden Bedarf. Von sichtschutz Fensterfolie bis UV-Schutz Fensterfolie - wir haben die perfekte Lösung für Sie. Profitieren Sie von über 18 Jahren Expertise und millimetergenauem Zuschnitt.
Preiswerte Fensterfolie
Top-Qualität zu fairen Preisen
Rechnungskauf 30 Tage
Flexible Zahlungskonditionen
mm-genauer Zuschnitt
Fensterfolien nach Maß
Meterware ab 1 Meter
Flexible Bestellmengen
Rollenrabatt bis 40%
Sparen bei größeren Mengen
Sicher dank SSL
Verschlüsselte Datenübertragung
Fensterfolien für jeden Bedarf
Entdecken Sie unsere vielfältigen Lösungen für Sichtschutz, Sonnenschutz und Sicherheit. Von milchglas Fensterfolie bis UV-Schutz Fensterfolie - wir haben die perfekte Lösung für Ihre Bedürfnisse.

Sichtschutzfolien
Schützen Sie Ihre Privatsphäre mit hochwertigen sichtschutz Fensterfolie. Verhindern Sie unerwünschte Einblicke effektiv mit selbstklebenden oder statischen Fensterfolien für Badezimmer, Büro und Wohnräume.
- ✓ Milchglas Fensterfolie für optimalen Lichteinfall
- ✓ Statische Fensterfolie ohne Kleber
- ✓ Spionspiegelfolien mit Einwegsicht
- ✓ Rückstandslos entfernbar

Sonnenschutzfolien
Halten Sie Ihre Räume kühl und komfortabel mit UV-Schutz Fensterfolie. Reduzieren Sie Überhitzung mit wärmeschutz Fensterfolie und schaffen Sie ein angenehmes Raumklima bei bis zu 34% Energieeinsparung.
- ✓ Bis zu 99% UV-Schutz Fensterfolie
- ✓ Hitzeschutz senkt Raumtemperatur bis 15°C
- ✓ Blendschutz für Bildschirme
- ✓ Ausbleichschutz für Möbel

Schutzfolien-Fensterfolie
Mehr Sicherheit und Schutz für Ihre Glasflächen. Minimieren Sie Verletzungsgefahren und schützen Sie vor Einbrüchen mit hochwertigen Sicherheits-Fensterfolien für Gewerbe und Privat.
- ✓ Einbruchschutz Fensterfolien
- ✓ Splitterschutz bei Glasbruch
- ✓ Anti-Graffiti-Schutz
- ✓ UV-Schutz für Langlebigkeit

Auto-Fensterfolien
Tönungsfolien und Schutz für Ihr Fahrzeug. Schützen Sie Ihre Privatsphäre und reduzieren Sie Hitze im Innenraum mit speziellen Autotönungsfolien nach StVZO-Zulassung.
- ✓ Autotönungsfolien für Privatsphäre
- ✓ UV-Schutz für das Interieur
- ✓ Splitterschutz bei Unfällen
- ✓ Lackschutzfolien

Dekorative Möbelfolien
Die clevere Alternative zum Neukauf. Verleihen Sie Ihren Möbeln ein neues Leben mit hochwertigen selbstklebenden Möbelfolien in Holzoptik, Marmor oder modernen Designs.
- ✓ Holzoptik für natürliche Ausstrahlung
- ✓ Leder für edlen Charme
- ✓ Marmor für luxuriösen Look
- ✓ Luftkanal-Technologie

Fensterfolien-Montagezubehör
Das passende Montageset für eine professionelle Fensterfolien-Verlegung. So gelingt die Montage Ihrer Fensterfolie schnell und unkompliziert - auch ohne Vorkenntnisse.
- ✓ Komplettes Montageset
- ✓ Professionelle Werkzeuge
- ✓ Auch ohne Vorkenntnisse
- ✓ Detaillierte Anleitung
Warum unsere Fensterfolie die perfekte Wahl ist
Über 18 Jahre Erfahrung mit Fensterfolien und tausende zufriedene Kunden sprechen für sich
Privatsphäre garantieren
Unsere sichtschutz Fensterfolie für Badezimmer bietet effektiven Schutz vor neugierigen Blicken und sorgt für mehr Privatsphäre in Ihren Räumen. Perfekt für sensible Bereiche wie Badezimmer, Schlafzimmer oder Büroräume mit milchglas Fensterfolie.
Effektiver Hitzeschutz
Mit UV-Schutz Fensterfolie reduzieren Sie effektiv die Hitzeentwicklung und schützen Ihre Möbel vor schädlichen UV-Strahlen. Sparen Sie bis zu 34% Heizkosten und schaffen Sie ein angenehmes Raumklima mit wärmeschutz Fensterfolie.
Dekorativer Look
Verleihen Sie Ihren Fenstern mit milchglas Fensterfolie nach Maß oder dekorativen Fensterfolien ein stilvolles und modernes Design. Wählen Sie aus hunderten von Designs und Mustern für jeden Geschmack und Einrichtungsstil.
Einfache Anwendung
Unsere selbstklebenden Fensterfolien und statische Fensterfolie lassen sich unkompliziert montieren und bei Bedarf rückstandslos entfernen. Perfekt für Mieter und Eigenheimbesitzer - ohne bauliche Veränderungen.
Fensterfolien einfach anbringen
Schritt für Schritt mit unseren Montageanleitungen
Unser Service für Sie vom Profi
Bundesweiter Verlegeservice mit 18+ Jahren Erfahrung für Ihre Fensterfolien

Wir verlegen Ihre Fensterfolien bundesweit zuverlässig und professionell. Profitieren Sie von über 18 Jahren Erfahrung in der Fensterfolien-Montage und lassen Sie sich von unseren Experten beraten. Ob sichtschutz Fensterfolie für das Badezimmer oder UV-Schutz Fensterfolie für Ihr Büro - wir finden die perfekte Lösung.
Individuelle Beratung
Persönliche Beratung für die richtige Fensterfolie-Auswahl
Fachgerechte Montage
Professionelle Verlegung Ihrer Fensterfolien durch Experten
Vertrauen Sie auf 18+ Jahre Erfahrung
Tausende zufriedene Kunden vertrauen auf unsere hochwertigen Fensterfolien
Qualitätsgarantie
Hochwertige Fensterfolien mit Qualitätsgarantie
Schneller Versand
Ihre Fensterfolie bereits am nächsten Tag bei Ihnen
Sichere Zahlung
SSL-verschlüsselt und verschiedene Zahlungsarten
Persönlicher Support
Kompetente Beratung zu allen Fensterfolien-Fragen
Das sagen unsere Kunden
"Schneller Versand und gute Produkte. Die Folie war gut anzubringen und erfüllt ihren Zweck perfekt."
"Super Folien, gut zu verarbeiten. Lieferung sehr schnell. Sehr gute Montageanleitungen. Einfach Top!"
"Perfekter Zuschnitt! Prima Ware, super verpackt. Immer wieder gerne."
"Kostenlose Muster bestellbar. Perfekter Zuschnitt, einfache Anbringung."
Bereit für Ihre neue Fensterfolie?
Entdecken Sie jetzt unsere große Auswahl an hochwertigen Fensterfolien für jeden Bedarf. Von sichtschutz Fensterfolie bis UV-Schutz Fensterfolie - wir haben die perfekte Lösung für Sie.

